Grants - Cohen - Dreamweaver
Cohen Home | ECE Course Development | ID Coordinator | ID Development Plan | ID Process
Configuring Dreamweaver
- Install Dreamweaver on your computer
- Create a LOCAL FOLDER that will hold the course documents on your local computer (you will be synching this with the online documents)
- Select in the top menu Site > New Site...
- Name the site (ex: ECE133)
- Press the little folder next to "Local Site Folder" and navigate to the LOCAL FOLDER you created.
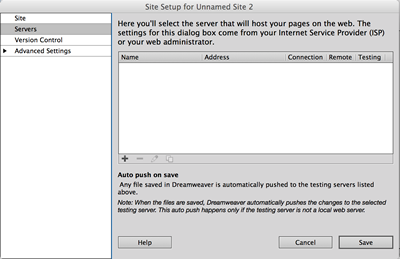
- Then...select the "Server" tab from the left menu
- Select the "+" button to add a server
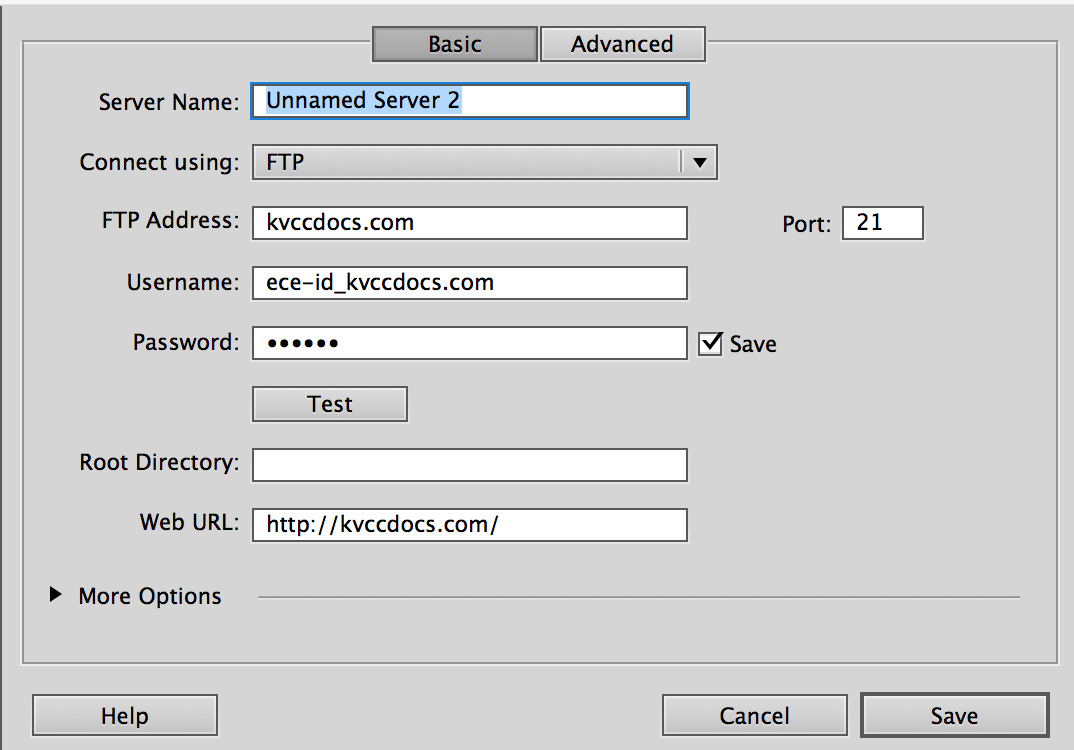
- Below is a screenshot of the FTP configuration window in Dreamweaver. You will be assigned a unique Username and Password...the rest of the items in the interface should look just like this image.
- Simply substitute your unique Username and Password...
- Save all these settings.
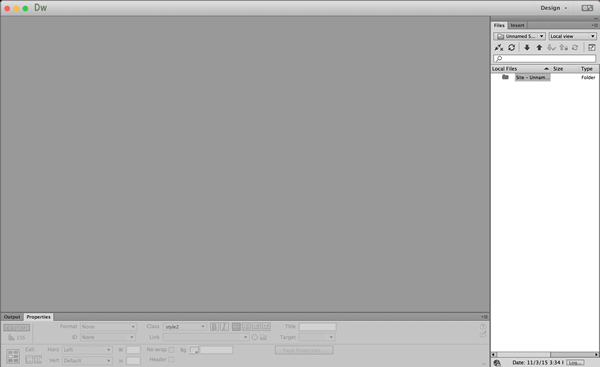
- Once you have the site saved in Dreamweaver it will open to a blank document with your empty LOCAL FOLDER in the Files column in the interface. You may have to adjuct the workspace to get this layout.
- To change the configuration of your workspace to go Window > Workspace Layout > Design
- Your workspace should look something like this...
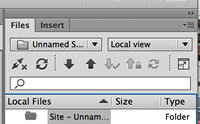
- Next you want to download the Remote Site files to your LOCAL FOLDER
- Navigate to the top right corner where there are pull down menus with the name of your site and the "Local View"
- Select the Local View pull down and select "Remote Server"
- The files that currently exist on the remote server should now appear below this part of the interface.
- Select all of the files and folders and then press the "DOWN ARROW" that is in the image above right below the name of the server to download all of these files to your LOCAL FOLDER
- Switch back to "Local View" and you will see all your files and folders that you can now open and edit.
- Each time you add a file or change a document in the Local View...simply select those files and documents and press the "UP ARROW" to upload them to their designated places in the REMOTE FOLDER.
- Double check your work using the link to the Standard Course Content pages.
- Have fun!
|
|