When you first log into your course (after you have requested that the IT department create it) you may encounter a standard Blackboard course shell or your Department may have designed a course "Template" with some materials and elements already included. Either way, you essentially have two major areas where you can "put stuff". (The images that I am using in this tutorial come from the Social Science Template course...your particular screen may look different and have a different color scheme.)
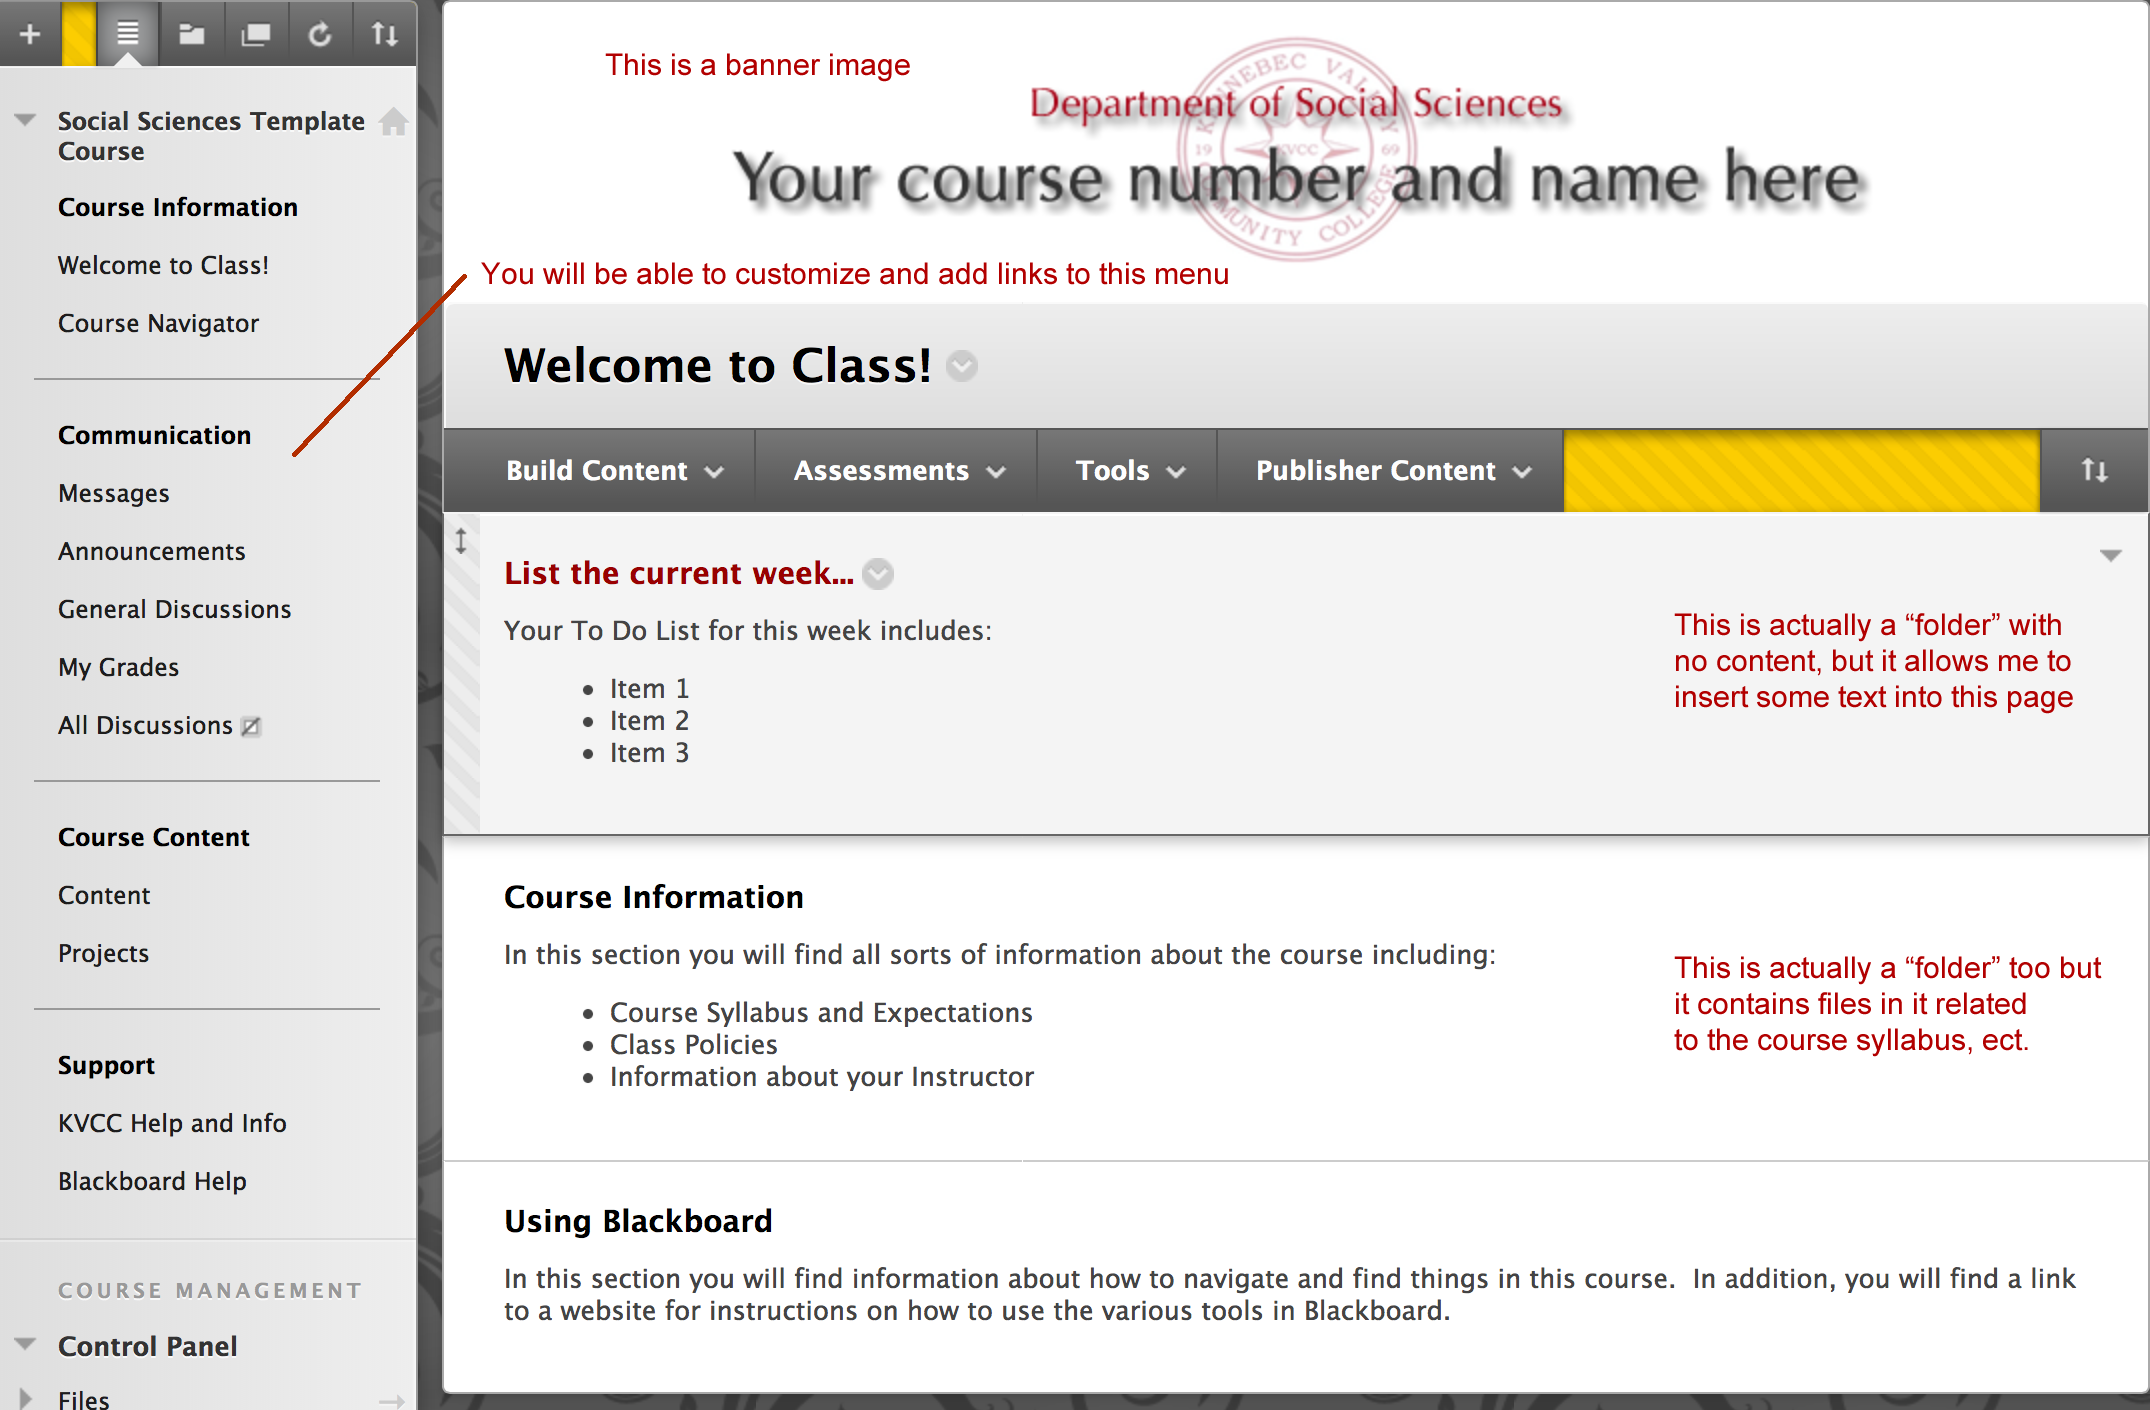
This is what the screen looks like when it is first created (I have labled certain elements in red right in the image):

For this tutorial, I will refer to the section on the LEFT as the MENU SECTION and I will refer to the section on the RIGHT as the CONTENT SECTION
You will be able to edit and add links to the MENU and CONTENT sections of the course
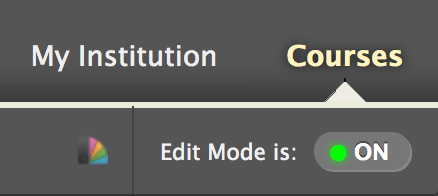
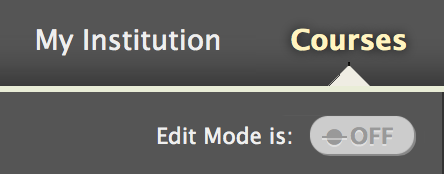
In order to begin editing this page you need to select a button near the top right corner of the page. This button toggles between edit mode being on or off:


Once Edit Mode is ON, you will be able to edit both the MENU and the CONTENT sections of your course!